How to Add Multiple TENKme Profiles?
For Android ![]() & IOS
& IOS ![]()
1. Tap ![]() in the top right.
in the top right.
2. Tap ![]() Create Profile.
Create Profile.
3. Enter your Profile ID.
Profile ID is a unique ID for your profile; it will distinguish your profile from other profiles that might be in the same category, have similar names, or discuss the same topic. Use ![]() the icon to check the availability of the Profile ID you chose.
the icon to check the availability of the Profile ID you chose.
-
- Profile ID should be 6 to 12 characters long.
- Contains only alphanumeric characters (letters a-z, numbers 0-9) with the exception of underscores (_) and dots (.).
- Start with one letter (a-z) at least.
- Isn’t already being used by another profile. Use the icon to check the availability of the Profile ID you chose.
4. Enter other contact information needed like AKA, Public email, fax, phone numbers, addresses, zip code; all of which will appear to others in the ![]() tab in your profile. You can edit them at any time, you can choose not to fill them in, or you can choose to hide them to other users.
tab in your profile. You can edit them at any time, you can choose not to fill them in, or you can choose to hide them to other users.
5. Add Gender; add Male\ Female if you are creating a person’s profile. If the profile is not for a person (i.e., a thing like a book, a national day, a place, etc. choose “other”).
6. Add Relationship status, if the profile is not a person’s profile, choose “other”.
7. Add Birthday Date. You can choose to hide that to other users.
8. Enter Category.
Category is what you want your ranking or rates to be about; you can choose:
-
 People if it is a personal profile.
 Business if you wish to be rated based on your profession,
  Places if the rating will be for a place (i.e., a city, a museum, a river, a forest, etc.),
  Products (any consumer goods) .
  Other (this can include almost anything from your home pet or plant up to a space rocket).
This is very crucial information in your profile; if you change your Category, you will lose any rates or stars you have on your profile, you will only keep your TENKERs.
9. Enter Country & City.
You will be ranked & rated among others in the same country & city who have profiles under the same category.
If you change your location at any point of time, this will affect rates & stars you received in that given location.
10. Tap ![]() in the top right to Create Profile.
in the top right to Create Profile.
11. You should receive a message that your profile is successfully created.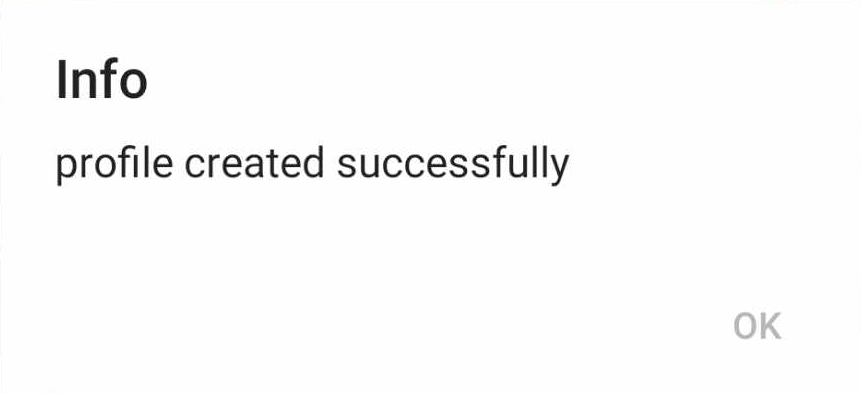
For Web ![]()
Here you will enter your profile information. Any information marked with (*) is required for completing this step.
Those not marked can be skipped. You can edit any field in your profile later.
1. Enter your Profile Name. This is the name that will appear in your profile page.
2. Enter your Profile ID.
-
- 6 to 15 characters long.
- Contains only alphanumeric characters (letters a-z, numbers 0-9) with the exception of underscores (_) and dots (.).
- Starts with one letter (a-z) at least.
- Isn't already used for another profile.
3. Enter your Nick Name. Nick name is optional. Keep it blank if your profile doesn't have a common nick name. Then click Next ![]()
4. Select your Profile's Category using search or brows. Search for the category that the profile belongs to, or select the category from the list using "Browse" button.
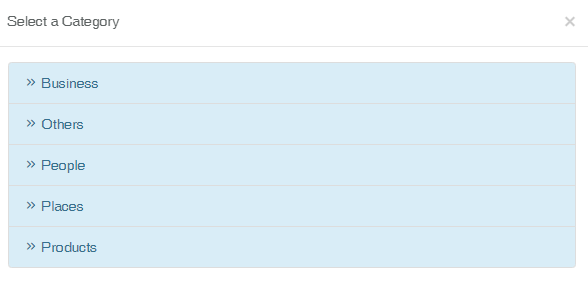
Then click Next ![]() .
.
5. Select your Profile's Location using search or browse. Search for the city that the profile belongs to, or select the country/city from the list using "Browse" button.
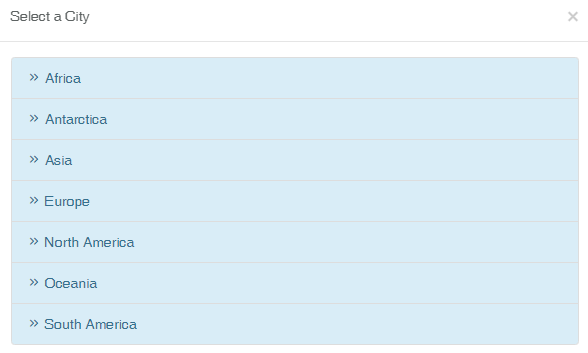
Then click Next ![]()
6. Input your profile's Birth Date: click inside the box or on the calendar ![]() & choose the date. Then click Next
& choose the date. Then click Next ![]() or click on Skip
or click on Skip![]() to skip the entire birthday step.
to skip the entire birthday step.
7. Input your Profile's Gender Male\ Female or choose none if this is a non-human profile. (i.e., you can create a profile for your pet, you favorite café of coffee blend).
8. Input your Marital Status. Choose none if this is a non-human profile. click Next ![]() .
.
9. Input your Profile's Photo. Click on , then you can browse your device for photos & choose one. You can crop the picture to your preference.
10. Click on  to input your Cover Photo. Then click Next
 ![]() Or click on Skip
Or click on Skip ![]() to skip the entire step.
to skip the entire step.
11. You will now be congratulated for completing your profile. Click on Finish ![]() to continue browsing on TENKme.
to continue browsing on TENKme.
If I've Added Multiple TENKme Profiles, What Push Notifications Will I Get?
If you've added ![]() multiple TENKme Profiles, you may get push notifications from any profile that you have them turned on. This depends on when you last logged in and the number of devices that are logged in to a profile.
multiple TENKme Profiles, you may get push notifications from any profile that you have them turned on. This depends on when you last logged in and the number of devices that are logged in to a profile.
To quickly see the number of notifications ![]() for each profile you've added on TENKme app, go to your profile and tap your username at the top.
for each profile you've added on TENKme app, go to your profile and tap your username at the top.